How to Paint Walls Without Streaks: A Complete Guide
Painting an interior wall can seem straightforward, but achieving an even finish often depends on a series of small decisions made before the roller touches the wall. Streaks and lap marks typically appear when the paint is applied unevenly, when the wrong tool is used, or when the drying process is interrupted. Understanding why these imperfections occur is the first step toward a smoother result.
Because wall painting involves multiple variables, no single method guarantees a flawless surface. Surface texture, room temperature, paint formulation, and application technique all influence the final appearance. This guide explains the practical steps that can help minimize the risk of streaking, with a focus on roller selection, paint consistency, cutting-in methods, and drying times.
These recommendations are intended for general informational purposes. Professional painters may adjust these techniques based on the specific product and surface conditions. For anyone preparing to paint a room, the principles below provide a structured approach to working with more uniform coverage.
Why Streaks Appear on Interior Walls
A streak is a visible line or band where the wall appears slightly darker, lighter, or shinier than the surrounding area. In many cases, streaks relate to differences in paint thickness across the surface. Where the paint film is thicker, drying occurs more slowly and the color may appear deeper; where it is thinner, the wall may seem lighter or more porous. These variations often come from uneven roller pressure, overlapping strokes at different stages of drying, or working in small patches without maintaining a continuous edge.
Paint formulation also plays a role. Some paints are designed to flow out after application, meaning the surface levels naturally before drying. Others dry more quickly, which makes it harder to blend adjacent areas without visible seams. The texture of the wall matters as well, since rough surfaces require more paint and a different roller cover than smooth drywall.
Choosing Rollers, Brushes, and Accessories
Roller selection begins with the nap, which is the thickness of the fabric covering the roller frame. For smooth drywall and plaster, a 3/8-inch nap is often a practical starting point because it carries enough paint to cover the surface without depositing a heavy film. For lightly textured surfaces, a 1/2-inch nap may offer better contact with the surface irregularities. Paint pads or foam rollers can be useful for extremely smooth surfaces, but they hold less paint and may require more frequent reloading.
The quality of the roller cover influences how evenly the paint is distributed. A dense, lint-free synthetic roller tends to release paint in a more uniform manner than a cheaper cover with loose fibers. High-quality brushes with flagged ends also help during the cutting-in stage, as they produce smoother brush marks along edges. In addition to the brush and roller, a sturdy paint tray and a mixer attachment for a drill can support a more consistent painting process. Some renovation companies, such as Ironwood Renovations, keep several nap sizes available in order to adapt to different wall conditions.
Preparing the Wall and the Paint
Before opening the paint can, the wall should be inspected for dust, grease, and loose material. A clean, dry surface allows the paint to wet the wall evenly, which is one of the conditions required for avoiding patchy finishes. Light cleaning with a damp cloth or sponge may be enough for most interior walls. Damaged areas should be repaired and sanded smooth, because any remaining imperfection can interrupt the uniform flow of paint.
The paint itself also needs preparation. Cans that have been stored for a while should be inspected for dried pieces or a thick layer on top. Stirring the paint thoroughly before use helps redistribute the pigments and additives. If blending several cans, pouring them into a larger container and mixing can promote consistency across the job. The label contains specific information about the recommended paint thickness and whether any thinning is advisable, so it is important to follow the manufacturer’s instructions rather than relying on observation alone.
Cutting In and Rolling Without Streaks
Cutting in refers to painting the edges and corners with a brush before using a roller. This step is often done first because it allows the roller to blend into a freshly painted border rather than a partially dried one. The brush should be loaded with an appropriate amount of paint and applied along the ceiling line, baseboard, and corners with even strokes. A 2 to 3-inch angled brush is a common choice for this task.
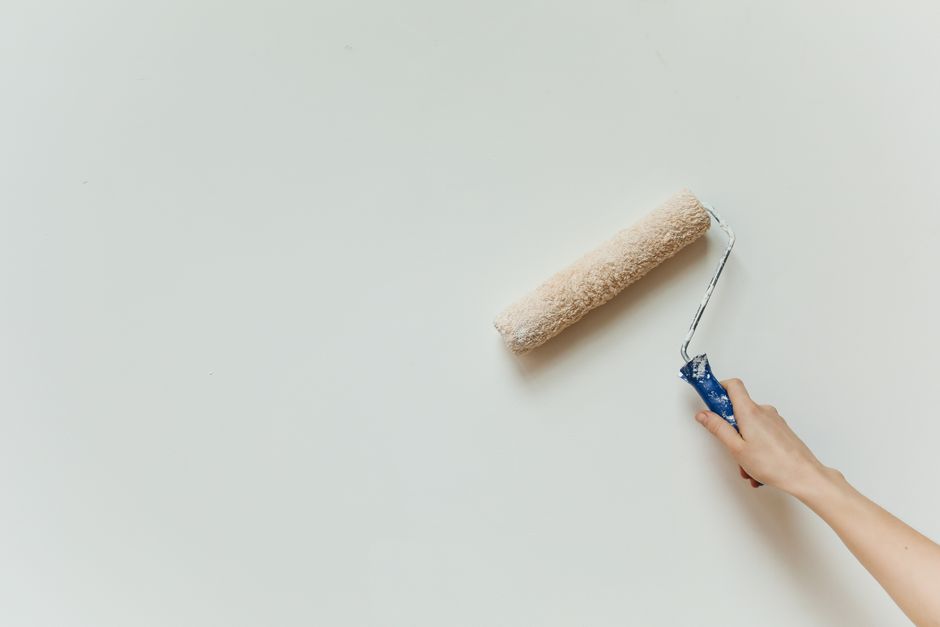
After the cut-in border is in place, the roller can be used in small sections, typically working from the ceiling down to the floor. Many painters use a W or M pattern to distribute paint across the wall quickly, then follow with straight vertical strokes that overlap the previous pass. Keeping the roller lightly loaded and avoiding excessive pressure at the edges helps maintain a consistent film. The objective is to work with a wet edge, meaning that each new stroke still touches paint that has not dried.
An even finish depends less on applying a large amount of paint and more on controlling the consistency of each pass with the roller.
Another common source of streaking is the habit of rolling back and forth until the roller runs dry. When the roller no longer holds enough paint, the drag on the wall increases and the pattern becomes uneven. Reloading the roller regularly and keeping a steady rhythm can reduce this effect. If a section begins to dry, it is often better to leave it for the next coat and resume nearby rather than trying to rework partially dried paint.
Managing Drying Times and Additional Coats
Every paint product has a recommended drying time and a recommended recoat time, and both may vary with temperature, humidity, and airflow. When the weather is humid, water-based paints tend to dry more slowly. Low temperatures can also extend the drying process. For this reason, the schedule printed on the label is a starting point, not a fixed rule. The condition of the paint film at the time of touch is the actual indicator of readiness.
Making a second pass with the roller before the first coat is fully dry can cause streaks by disturbing the paint film. Similarly, waiting too long before applying the next coat may create a hard line at the edge of the previous section. Most professionals recommend maintaining consistent environmental conditions during the painting project and allowing each coat to reach the stage described by the manufacturer. The number of coats depends on the wall color, the paint quality, and the desired finish, but a second coat is often necessary to achieve even coverage.
After the final coat has cured, a visual inspection from different angles can reveal subtle unevenness that was not visible during application. Raking light, or light that hits the wall at a low angle, often shows imperfections more clearly. If any areas appear inconsistent, a light scuff and spot repair may be needed, followed by a full even coat if the texture differs noticeably. Judging each situation individually helps avoid unnecessary work.